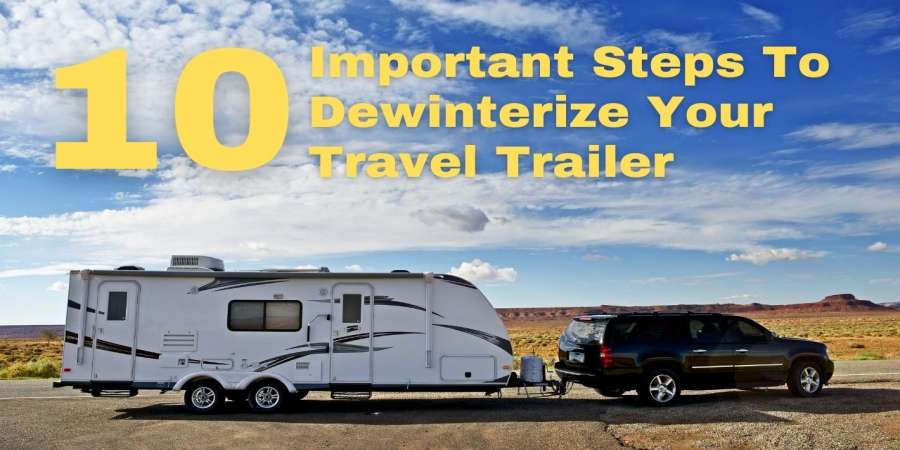
10 Important Steps to Dewinterize Your Travel Trailer for Spring
It is nearly time to get your travel trailer out of storage for the season, but before you set out on your first adventure you'll need to take a few initial steps to get your camper dewinterized and ready for spring camping season.

Perform an Exterior Walk Around
Before you delve into more extensive RV season maintenance, carefully check the outside of your RV for any damaged areas, cracks or leaks. Examine the seals and weatherstripping around windows and doors and reapply any adhesive or sealant that is missing, peeling, or cracked. Check every area including the body, roof and slide-out seams and add new seals as required.
Also pay particular attention to areas that may have been exposed to the weather over the winter months. Water leaks during freezing winter conditions can cause major problems. If you have a travel trailer, be sure to inspect the hitch for signs of rust or deterioration. It’s better to replace any parts now, rather than be stuck out on the road somewhere with a broken hitch.
If you have any missing exterior vents or guards, now is the best time to replace them.

Inspect Your Tires
Inspect the tires of your RV, including the spare tire, for any holes in the sidewall or between the tracks. After that, check the tire pressure on each wheel of your RV. Your manual will tell you the right pressure for your tires. Be sure to examine the tire tread and watch for any wear or cracks. If you notice any cracks while inflating the tire - STOP immediately and deflate the tire. You'll need to have the tire(s) inspected by a professional and probably have them replaced. This is a very important step if you'd like to avoid a blowout. If your camper is fitted with a spare tire, definitely check it out as well.

Charge the Battery
Before you work with your batteries, put on rubber gloves and protective glasses and make sure you switch off all electricity in your RV. Use baking soda and hot water to clean any corroded battery terminals. Disconnect the battery carefully and get it checked by an expert. If it has to be replaced, replace battery packs together - don't mix old batteries with new ones. If your batteries are in good condition, recharge them. If you have flooded lead-acid batteries, check the level of the battery fluid and add distilled water as needed (note: AGM, Sealed, and GEL batteries do not need the fluid levels topped up). Again, ensure proper wiring when you reinstall the batteries.

Flush Your Water System
You need to flush all of the antifreeze from your travel trailer's water system that was added when your camper was winterized. Do this by connecting a water hose from a water faucet to the water connection of your RV. Turn on all the faucets. Turn the hose on and let the water flow into the system, flushing out the antifreeze and other residue. It helps to use a timer for this process. You're going to want to clean the water system for at least 10 minutes. Watch for the consistent clarity of the water. This will eliminate any residual antifreeze that remained in the system. While you're waiting, also flush the toilet multiple times.

Check for Leaking Pipes
Before we move on to the next step, it is important to perform a quick visual inspection of the plumbing of your travel trailer or RV. Right after you’ve flushed your water system is a great time to see if there are any leaks. Take a flashlight, open up the cabinets under all the sinks, and also check the area around your hot water heater, and water pump. If there are any leaks - take your camper to a repair shop to have it fixed.

Sanitize Your Fresh Water System
This step requires letting treated water sit in your fresh water lines for a few hours (which is why it is important to check for leaks in the previous step). It is really important to sanitize your fresh water system to eliminate any bateria that might have grown in the lines or tank.
- Close the drains and connect the drain plugs.
- Measure 1/4 cup of household bleach for every 15 gallons that your fresh water tank holds.
- Add the bleach to a one-gallon bottle and fill it with water.
- Pour the bleach and water solution into the fresh water tank.
- Fill the fresh water tank to its maximum capacity with potable water.
- Switch on the water pump on, and open all the faucets.
- Let the water run until you smell the bleach, then close the faucets.
- Let the solution sit in the water tank and water lines for a few hours.
- Drain all the water out of the system.
- Refill the fresh water tank with clean water.
- Flush the system by turning on the water pump and opening all the sockets.
- Let the water continue to run until it doesn't smell like bleach at any of the faucets.
- Let the water run for a few more minutes and then turn it off.
It is important to allow the treated bleach water to stay in the system long enough to destroy harmful bacteria. However, leaving bleach in your water lines for too long can cause synthetic sealants and joints to deteriorate more rapidly. Let the bleach solution sit for at least a few hours, but not more than 12 hours, to properly sanitize your water system without harming plumbing materials.

Propane Precautions
Before checking the propane system, make sure you shut off all propane devices, avoid smoking, open flames or sparks, and turn on the propane leak detector inside your camper. Make sure the hose is securely fastened. Open the valves on the tanks and check if you can smell the leaks. You can also spray a mixture of soapy water on the regulators and valves, and then watch for bubbling. If you detect a leak, turn off the propane and check it professionally and replace it.

Inspect Windows and Vents (Before the Next Step)
As part of your camper's dewinterization process, open all your windows and air vents to make sure they are still in working condition. Air vents ensure adequate air circulation throughout your travel trailer to minimize potential humidity buildup and to keep you cool throughout the summer camping season. Proper ventilation becomes even more important when you switch your RV's heater on in the fall. Vents help guard against the build-up of toxic gas inside your RV.

Check Propane Appliances
Once your propane tanks have been installed and properly connected, and you’ve opened and inspected your windows and vents, it’s time to ensure that all of your LP gas-powered appliances are operating correctly by opening the gas line and checking each appliance. When checking the hot water heater, first make sure it's full of water.
If any of your gas-powered appliances aren’t functioning, schedule an inspection with a trained RV repair company. Propane leaks or ignition faults can be extremely hazardous and should be resolved by a professional.

Inspect Your Safety Equipment
Before heading out on your first adventure of the camping season, make sure all the safety equipment in your RV is functioning correctly. This includes a smoke alarm, a fire extinguisher, a carbon monoxide detector and an LP leak detector. Install new batteries in all of the battery-powered devices. Test the carbon monoxide detector and the smoke alarm. Make sure you know the signs of carbon monoxide poisoning and how to avoid a carbon monoxide leak in your RV.
When In Doubt, Reach Out
The experts at 72 West RVs are here to help you with your dewinterization. Call or schedule a service appointment for any of your repair needs, or for help with our comprehensive "Summerification" service. We'll professionally dewinterize your camper and get it ready for Spring Camping Season.
RV Resources Directory The RV world at your fingertips.